Locating a roof leak isn’t always easy.
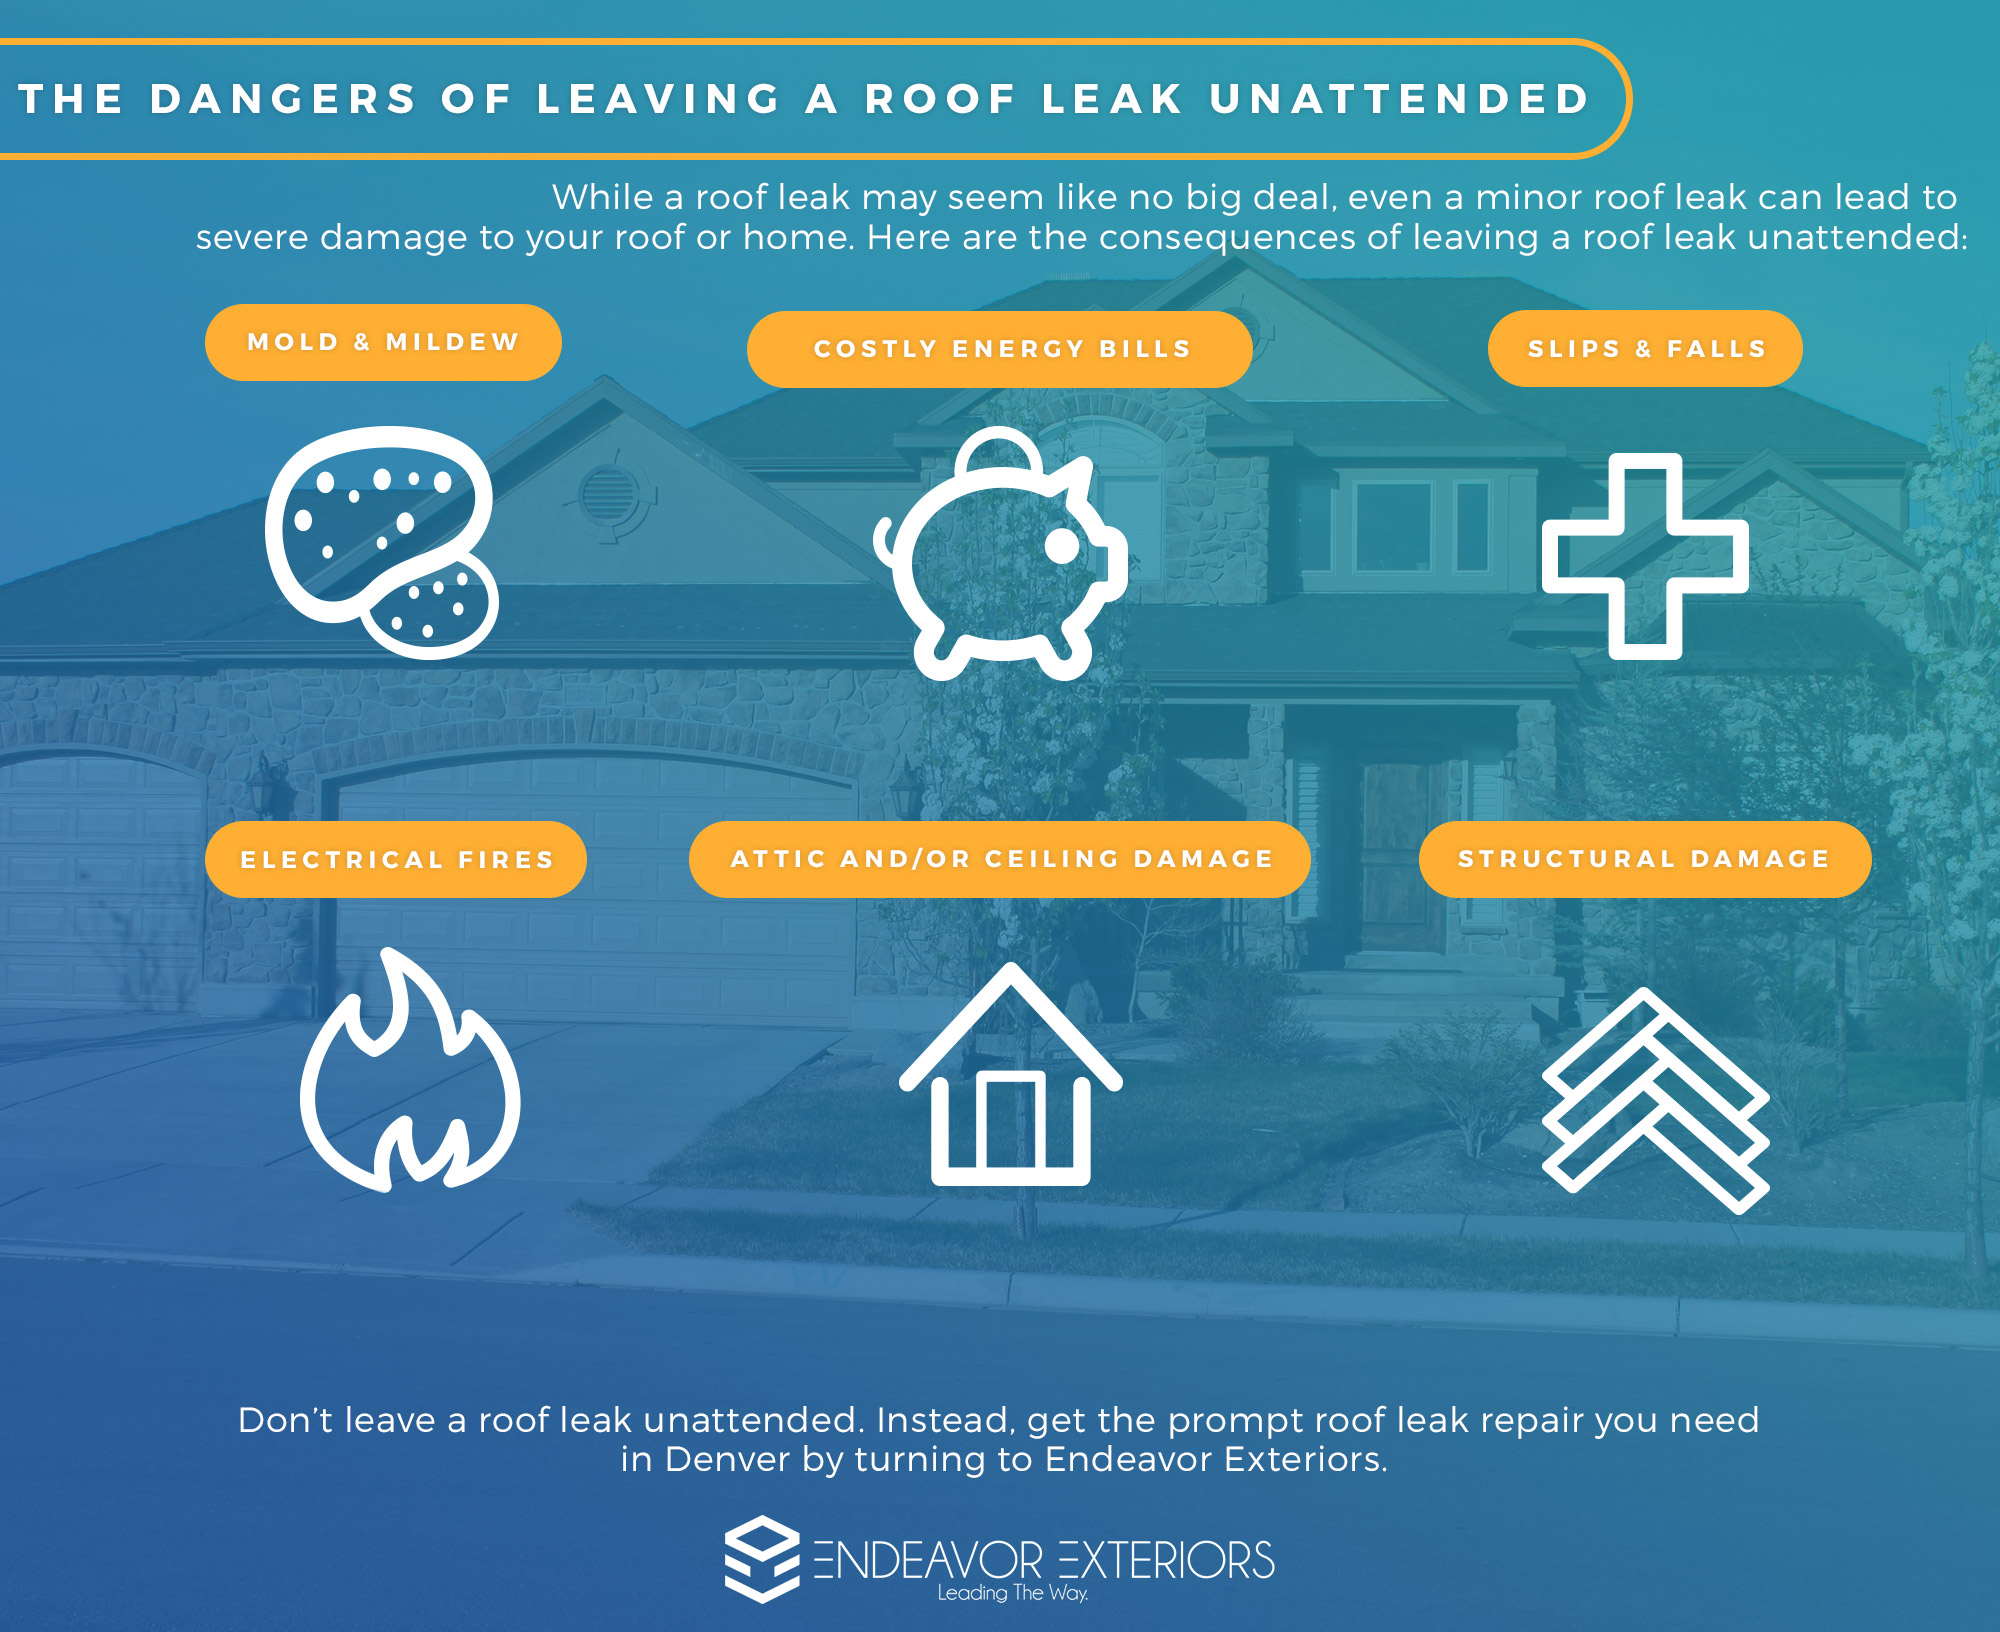
If you’ve noticed the signs of a roof leak in your home — higher than average energy and bills, water stains on the ceiling or walls, mold or mildew growth or curling, buckling or missing shingles — you’ll first need to find the source of the leak before it can be repaired. However, actually finding a leak is often easier said than done, and the process can be the opposite of intuitive. For instance, if you notice a wet spot on your ceiling, you may think the leak is directly above it, but it could actually be coming from an entirely different area. Luckily though, your go-to roofers in Denver from Endeavor Exteriors have come up with this step-by-step guide for locating a roof leak.Step #1. Look for the leak when it’s raining or snowing.
If you suspect that you have a leak, you’ll have a much easier time of actually finding it if you start looking when it’s actively leaking. That means that you’ll need to look for the leak when it’s raining or snowing outside. If the weather isn’t cooperating, you could also perform a water test by saturating your roof with a garden hose and watching out for signs of the leak in your home.Step #2. Start by watching for signs of a leak inside your home.
In most cases, you won’t find the source of a leak on top of your roof, at least unless you know exactly what you’re looking for. That’s why it’s a smart idea to start by looking for signs of a leak on the inside of your home. The most likely sign you’re likely to spot in your home are water stains on your ceiling or walls.Step #3. Eliminate other causes of the leak.
The roof is not the source of every single leak, so before you hire a roofer to come out and fix your roof leak, you’ll want to make sure that it was actually caused by the roof. Other possible causes of leaks in your home might be a broken plumbing pipe, a buildup of condensation in your attic or a leaking air conditioner.Step #4. Measure the location of the leak from your living area.
From two different fixed points — which could be perpendicular walls, a chimney or any other components that extend through to the attic or roof — measure the location of the leak on the inside of your home.Step #5. Use your measurements to locate the leak on underside of the roof deck in the attic.
If you’re lucky, you’ll find the leak directly above the water damage you measured on the floor below, but in many cases, you’ll have to do a little searching to find the leak. Once again, when you find the leak, take measurements from two fixed points that may protrude through the roof, like the vents or the chimney.Step #6. Apply the measurements to your roof.
Once you’ve safely gained access to your roof, you’ll use the measurements you’ve taken from the attic to find the leak on your roof. Keep in mind that soffit overhangs and exterior bearing walls can make finding a leak based on your indoor measurements more difficult. Start in the spot where you think the leak most likely has occurred, and work in an outward, concentric circle to watch for signs of the leak, including any holes, cracks or other openings that could allow water to get into your roof and home.The right roof leak repair will depend on the cause of the leak.
Finding the source of a roof leak is just the first step in the process of fixing it. To ensure that you repair the leak properly, and to ensure that no future leaks pop up again, you’ll need to figure out what is causing the leak. For example, if the roof leak was caused by clogged gutters, and you only fix the leak but leave the gutters clogged, you’ll only end up with another leak down the road. Check out our previous blog series to learn about the most common causes of roof leaks.Finding and fixing a roof leak isn’t as straightforward as many people think, but the good news is that the roofers from Endeavor Exteriors in Denver are here to help. Contact us today to get started.
Tags
Subscribe to Endeavor Exteriors's Blog


Comments